
The first step in making your finger is to gather your components. Let's start!
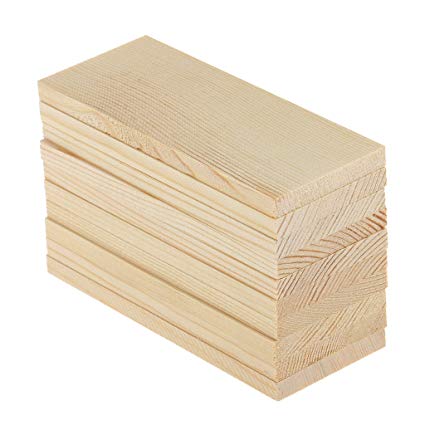
You will need at least a 25cm x 10cm board to attach all your components to.
The Arduino Nano is the board that you will code, and that sends out digital and analog signals to the other components connected. The expansion board is where you connect the wires for the micro servo, battery and flexi sensor. Any circuit board is suitable as long as it is compatible with your computer and uses JavaScript. You can find the Nano board here, and the expansion board here.
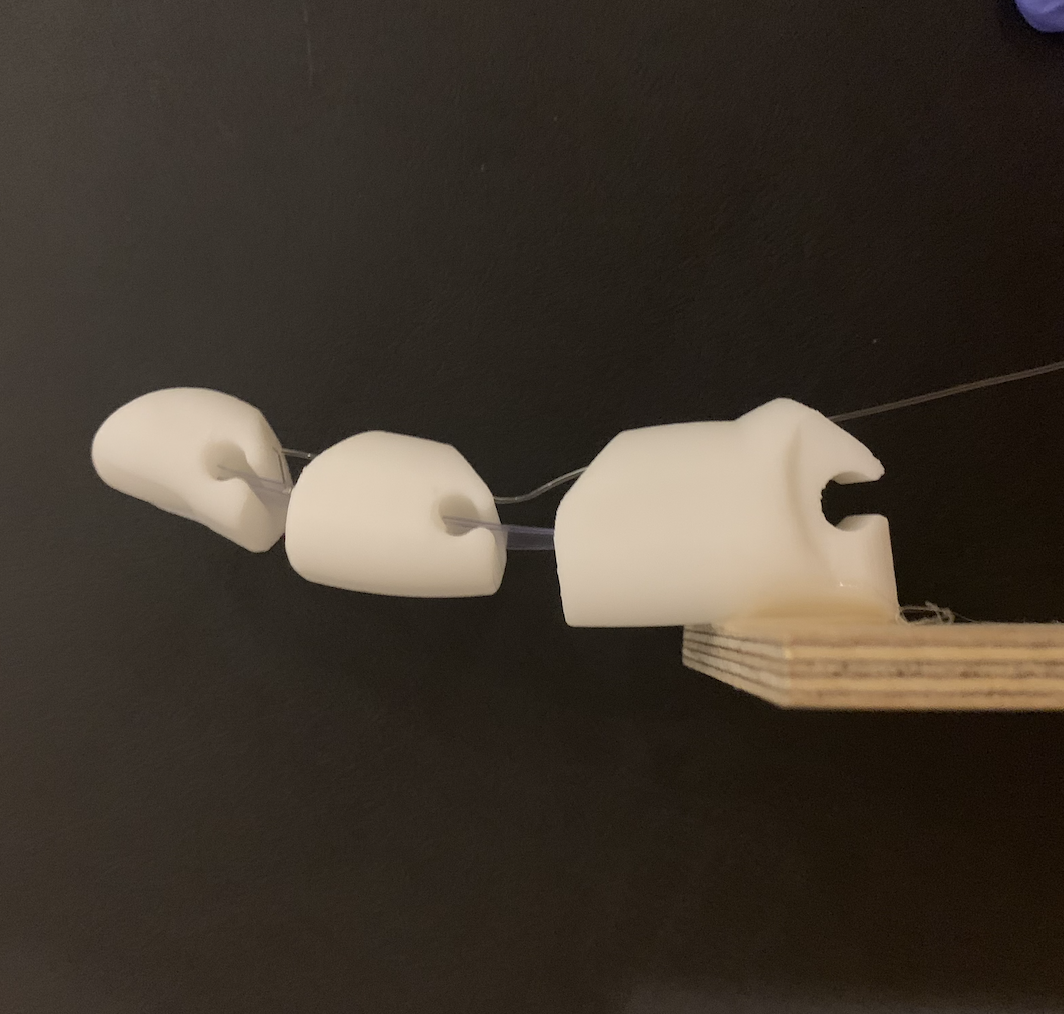
You can 3D print a finger yourself by downloading a model and accessing a 3D printer, but remember to make holes for the wire, and cut-ins for the plastic strips. Alternatively, you can use a straw finger and string.
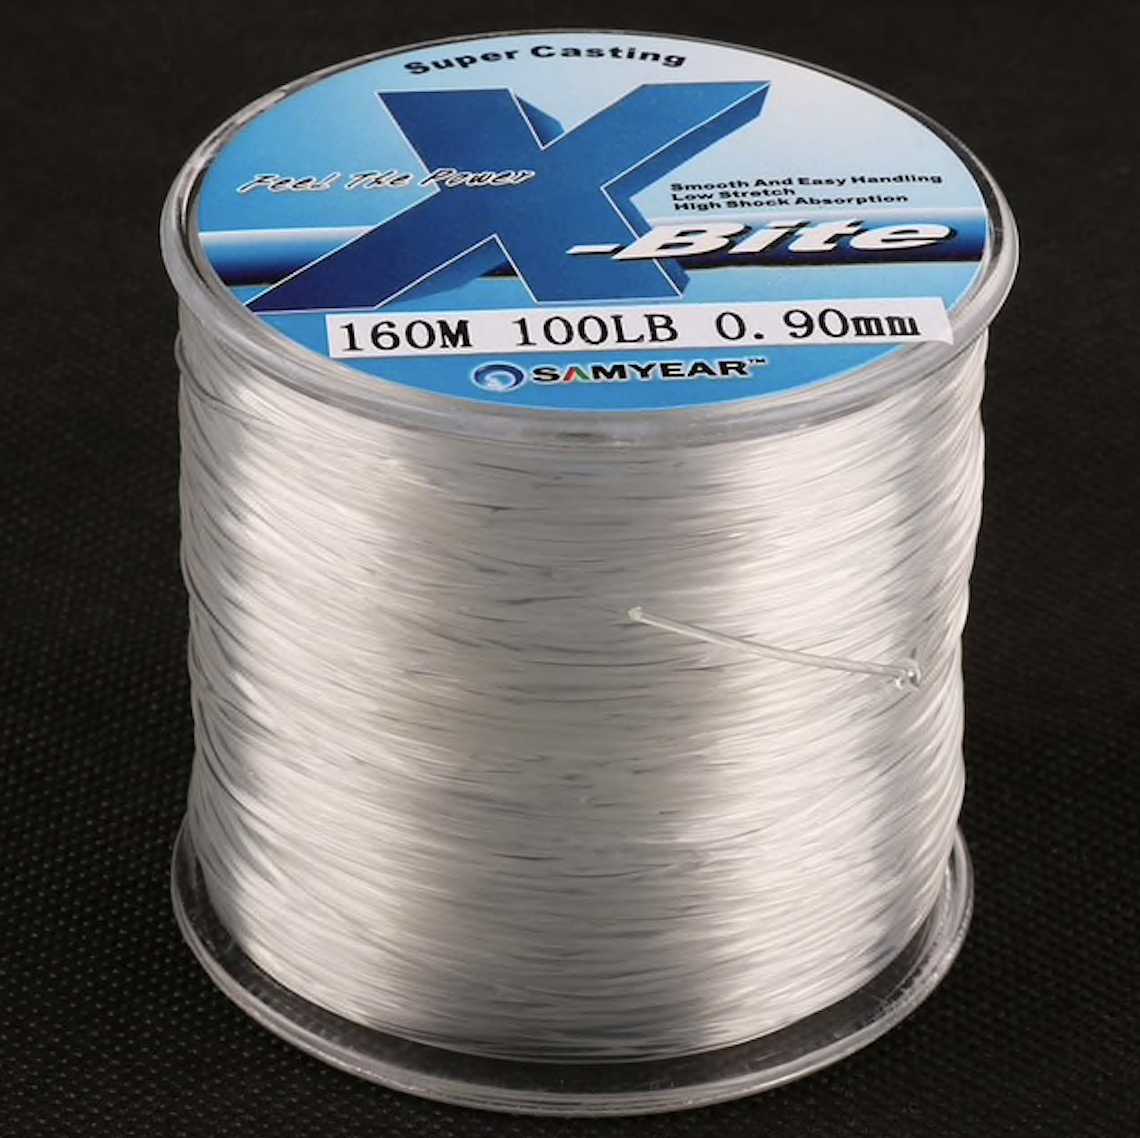
You will need at least 25 cm of fishing wire to thread through the finger, and some left over to attach to the micro servo. This is only needed if you are using a 3D printed finger.
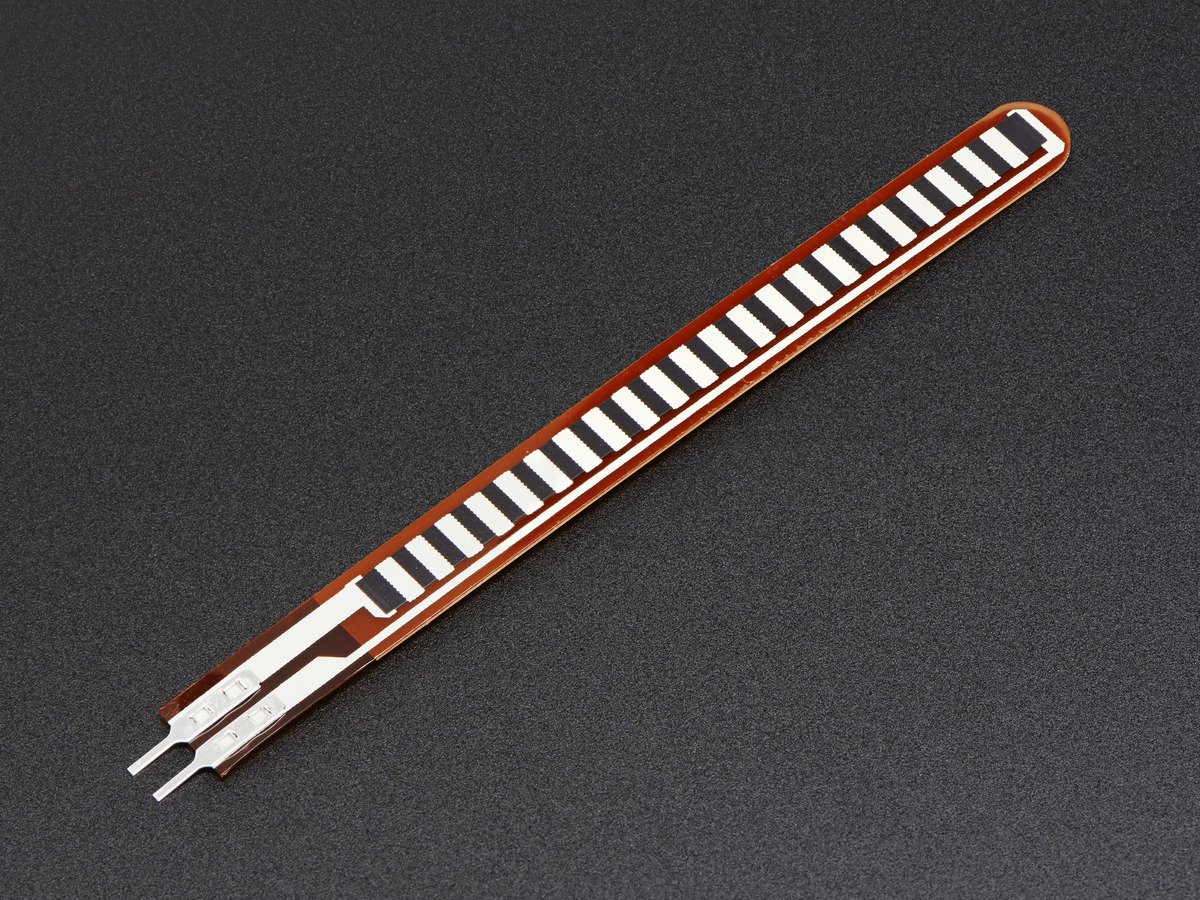
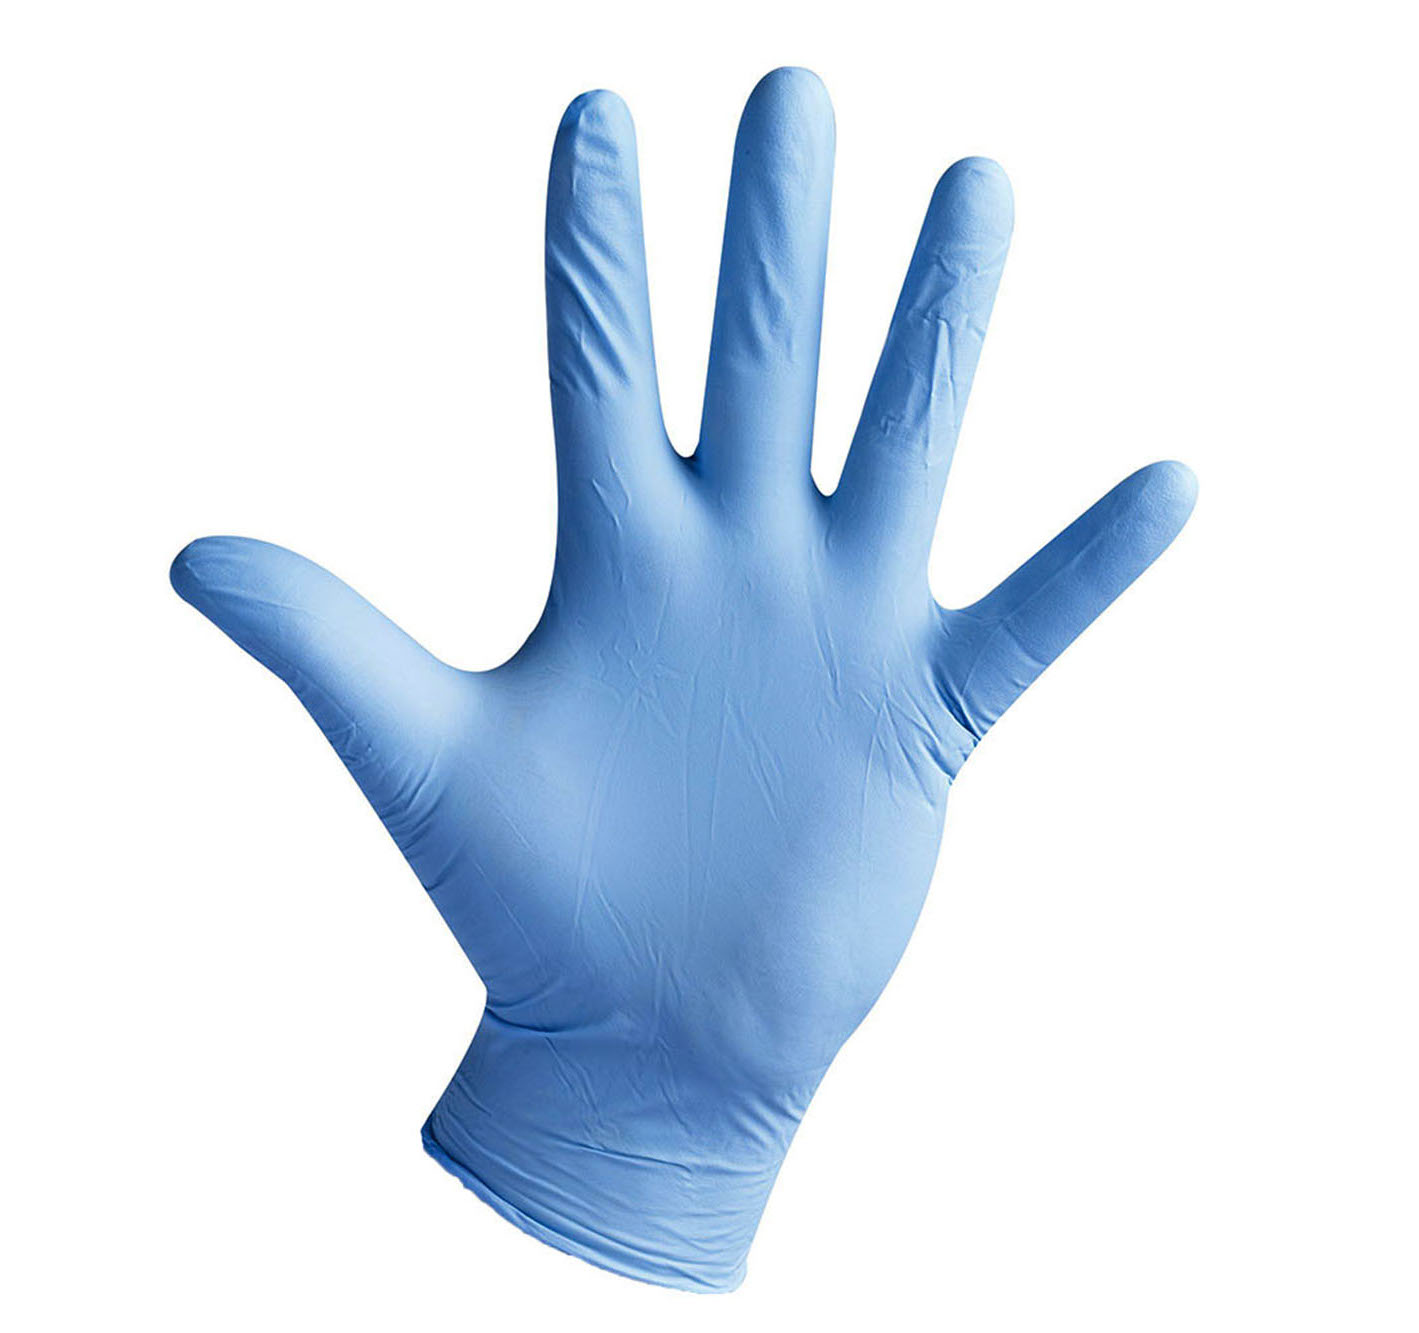
The flex sensor can sense how much it is bending, so when you attach it to a glove and code your Arduino, it can tell how much your finger is moving and pull the bionic finger as well! Click here to find the product.
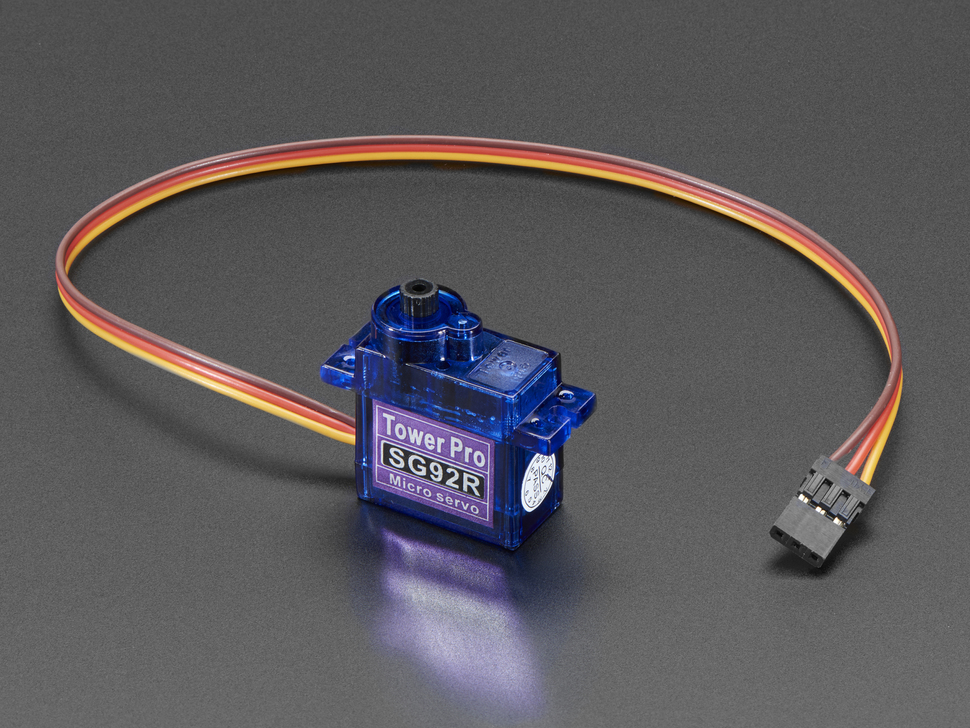
The micro servo stands as the motor that pulls the string to make the finger flex. Once your Arduino is coded, the code can tell the motor when to pull and when not to. Click hereto buy one.
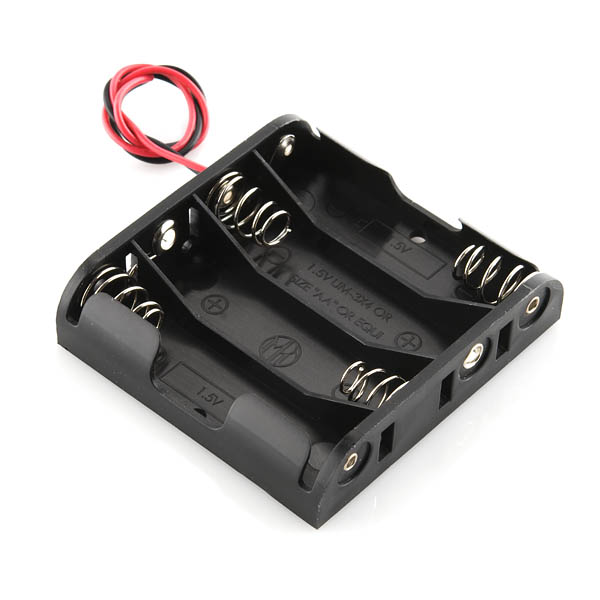
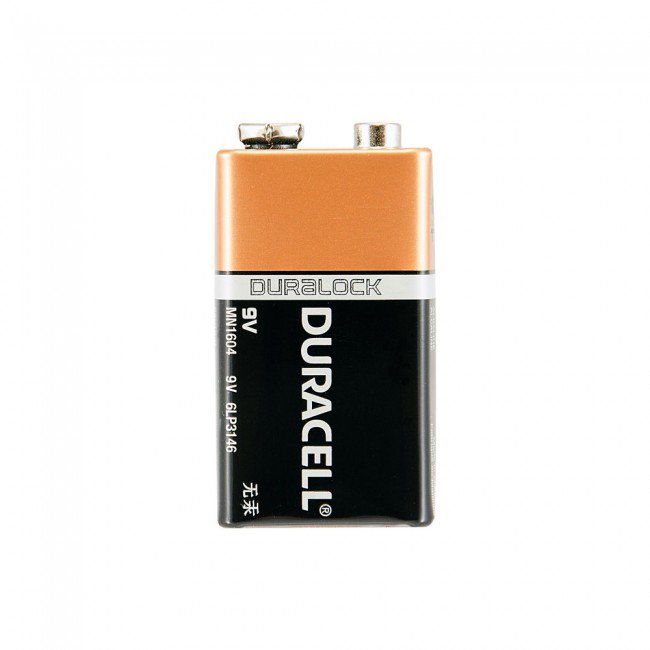
Batteries are important so that you can use your finger without it being connected to your laptop. If you are using an AA battery case to power your finger, use 4 x AA batteries. Alternatively, if you are using a 9V battery without a case, you will need a snap-type battery clip as well.
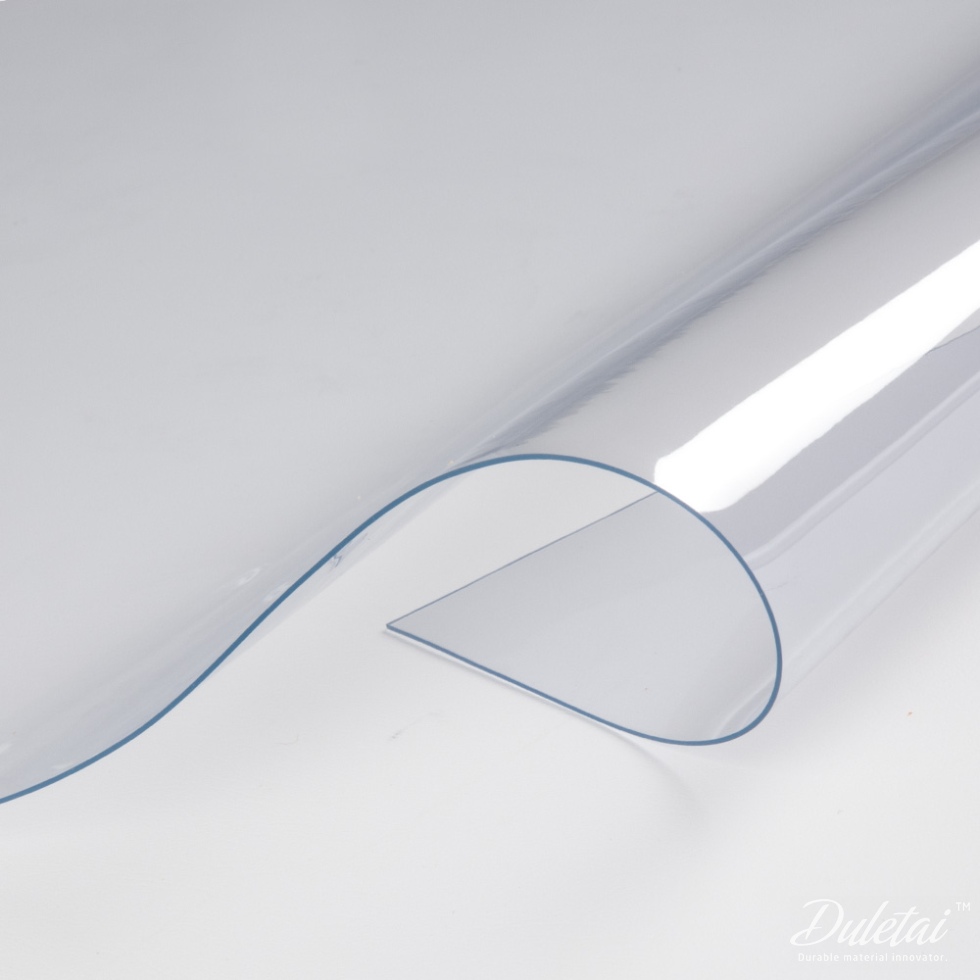
You can use any transparent plastic strip to attach the sections of the finger together, but it must be quite flexible. This is only needed if you are using a 3D printed finger. Click here to find the product.
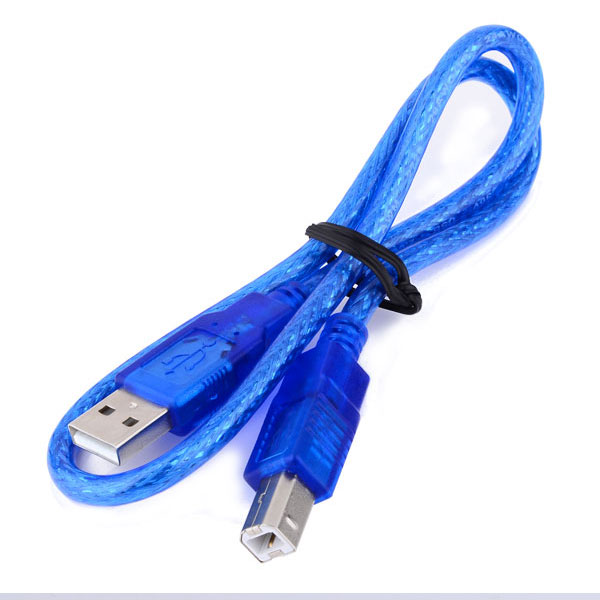
This needs to connect from your laptop to the Arduino board. Any type can be used, but it is essential unless you are using a Bluetooth connection.
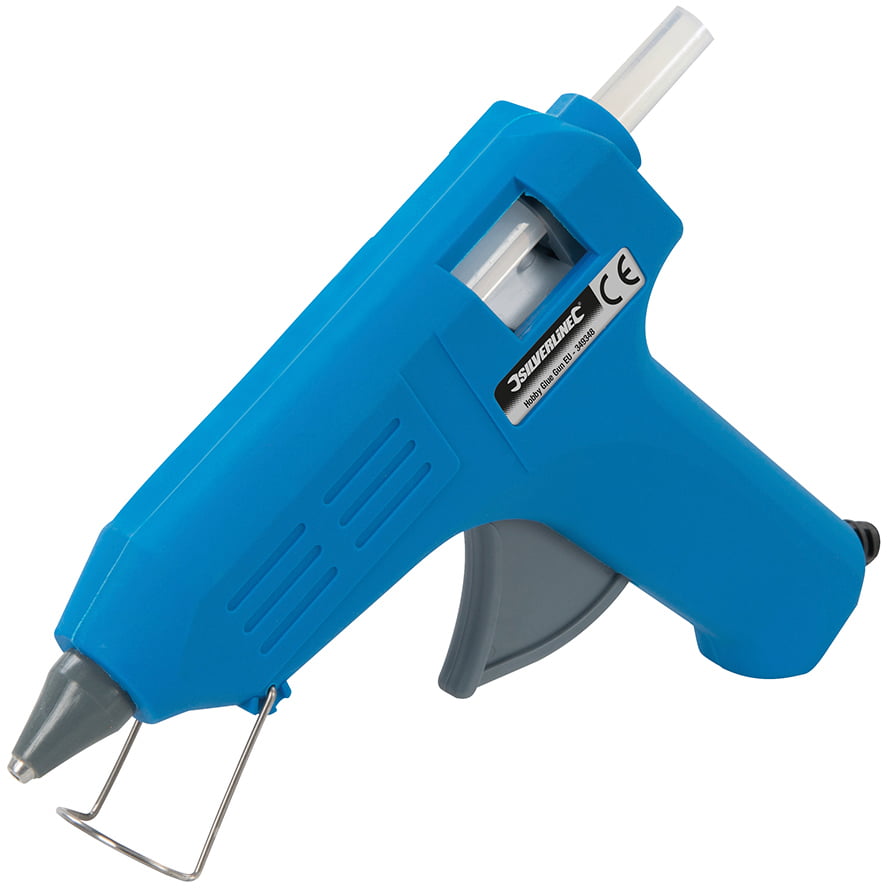
You will need a hot glue gun in order to attach all you components to the board. This part can be switched with PVA or craft glue, however it will take much longer to dry.


The next step is to assemble your finger! Click here to go to the instructions.